CROSS STITCHING STEPS
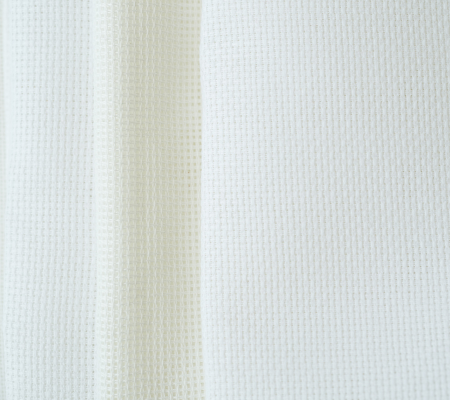
STEP 1: Prepare Your Fabric
Secure the fabric in an embroidery hoop or frame, ensuring it's taut and wrinkle-free.
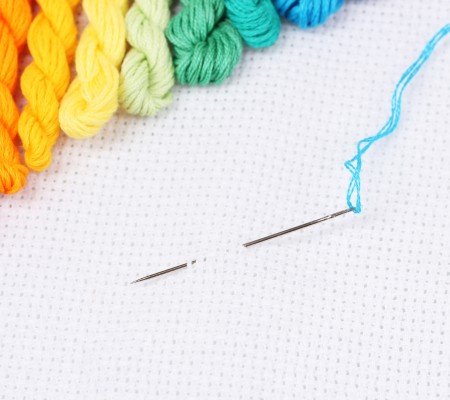
STEP 2: Thread Your Needle
Separate the strands of embroidery floss according to your pattern's instructions. For most patterns, you'll use two strands of floss.
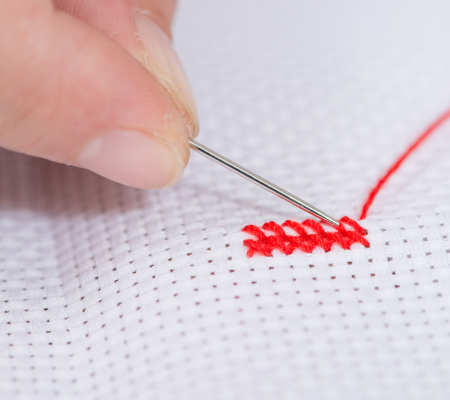
STEP 3: Execute the Stitches
Finish each strand of floss neatly on the backside of the fabric, securing it with a small knot or by weaving it under existing stitches.

Your Quick Starter Guide
Cross Stitching for Beginners: What You Need to Know
You'll need basic supplies like fabric, embroidery floss, needles, and a hoop to get started. Cross stitching is a skill that anyone can learn with practice. Start with simple patterns, take your time, and enjoy the process.
FAQs
To start cross stitching, you'll need fabric, embroidery floss, a needle, and a pattern. Begin by threading your needle with one strand of embroidery floss and securing it to the fabric with a knot. Then, follow the pattern's instructions.
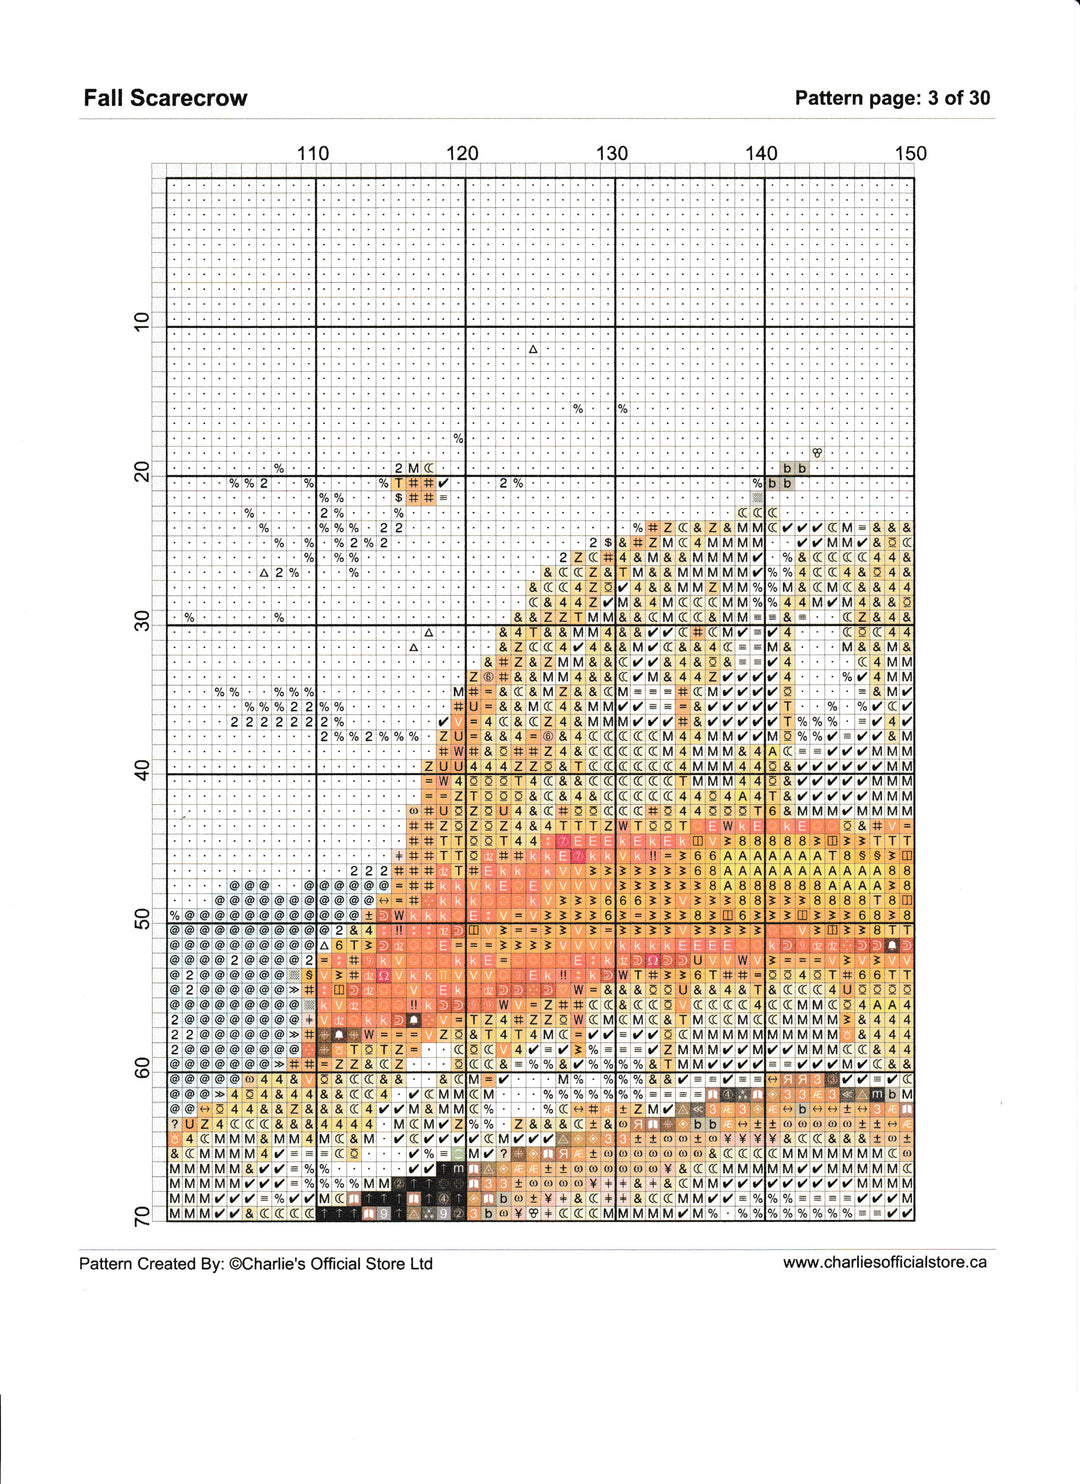
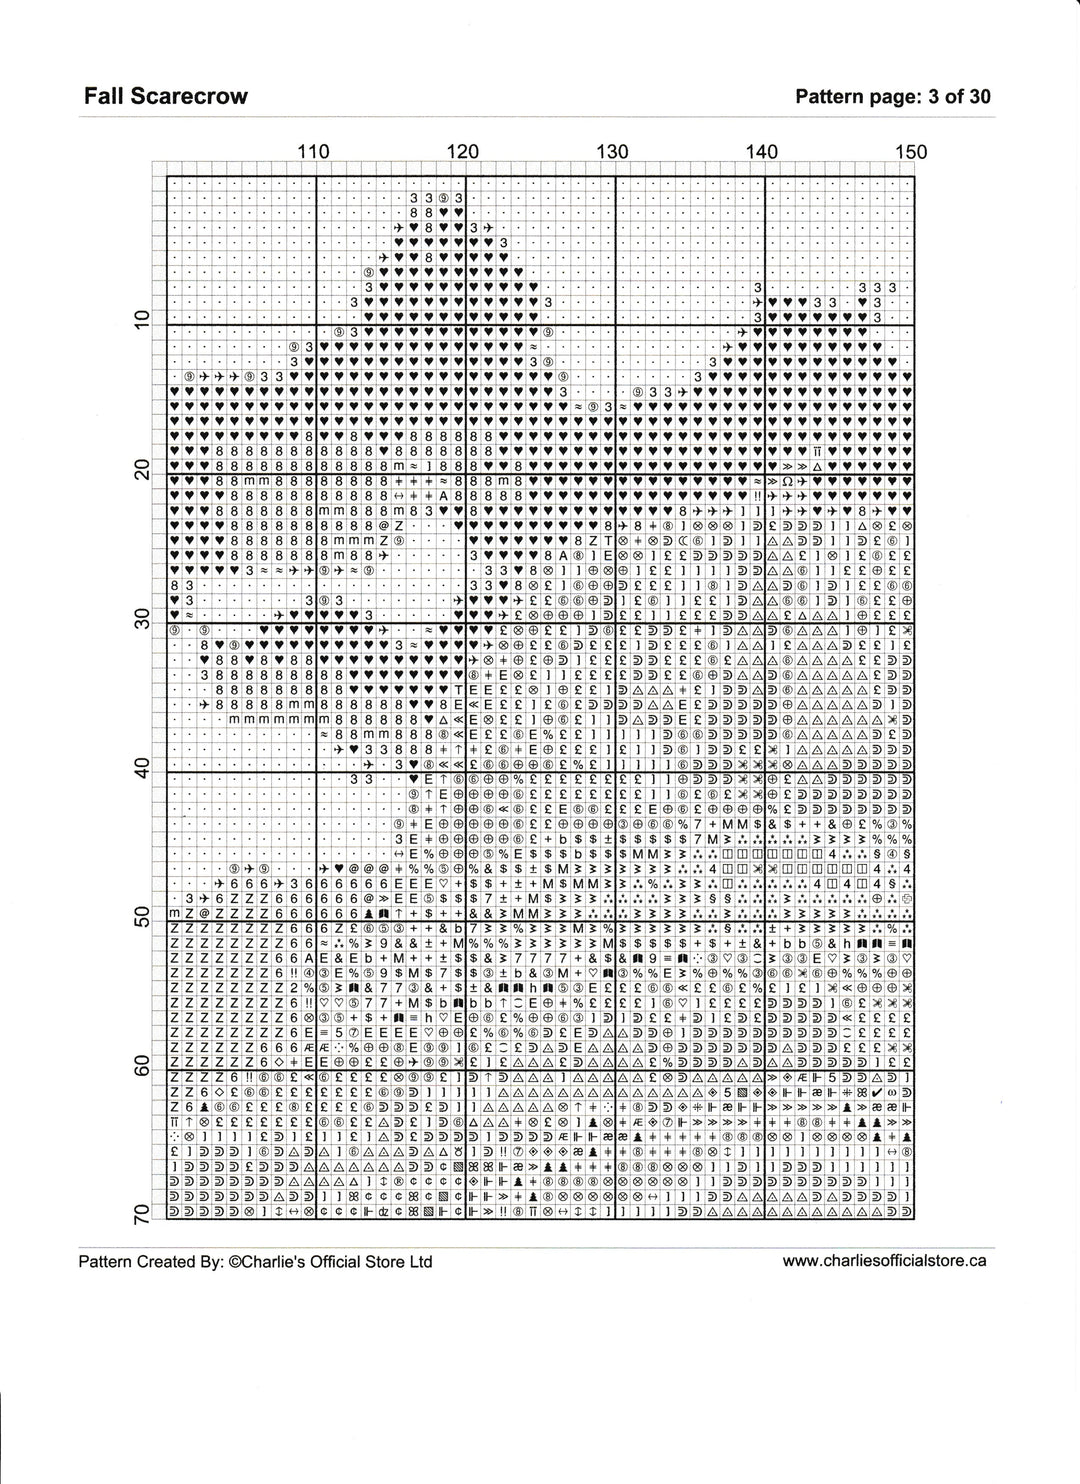
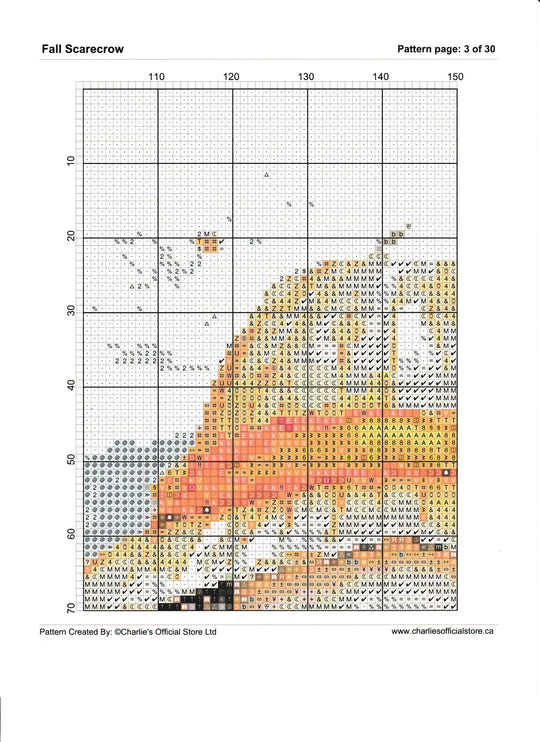
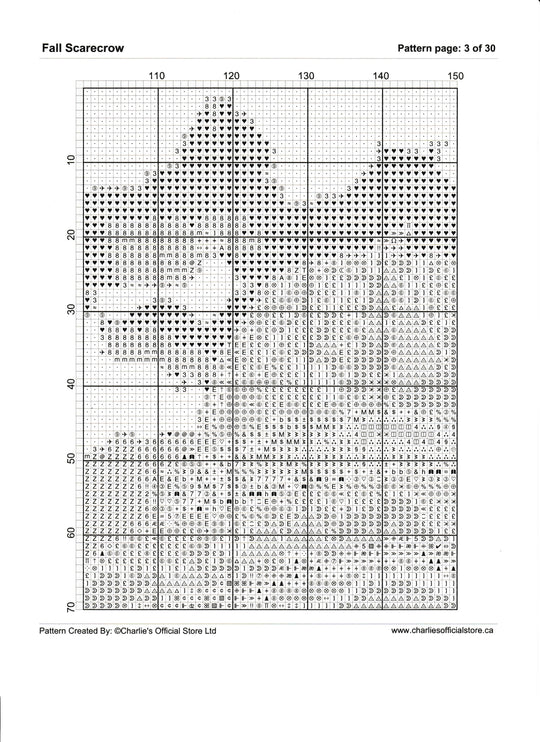
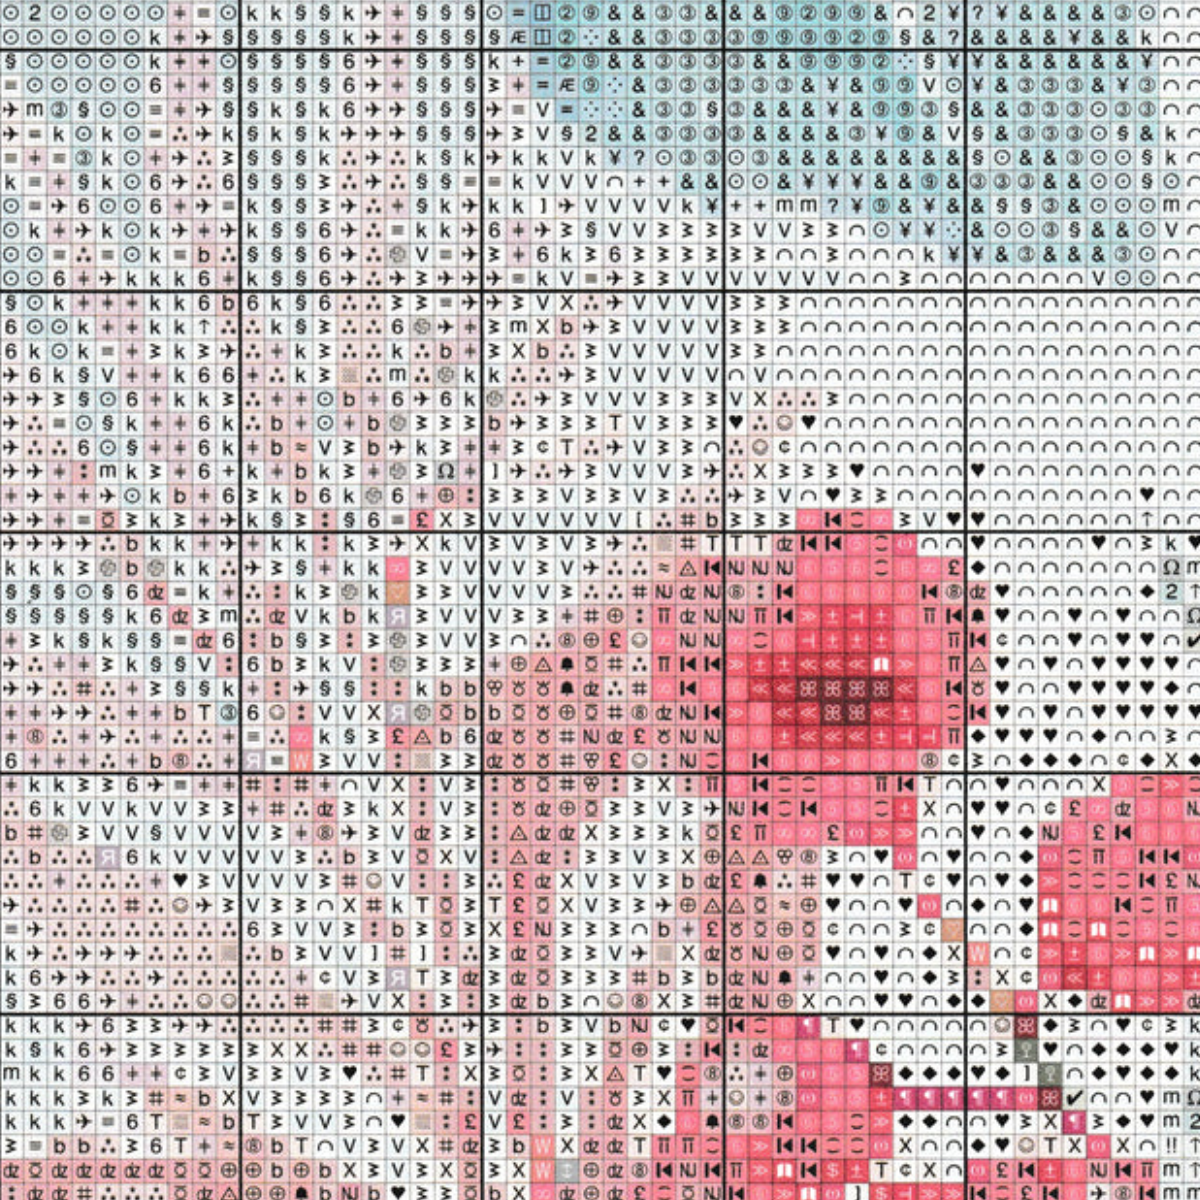
Cross stitch patterns are typically grids with symbols representing different colors of embroidery floss. Each symbol corresponds to a specific color, and you'll stitch according to the symbols on the pattern.
Once you've completed all the stitching, you can finish your project by framing it, turning it into a pillow, or sewing it onto a fabric backing. If framing, ensure the fabric is stretched smoothly and evenly within the frame. If sewing onto a backing, use a whipstitch or running stitch to secure the edges.
To wash a finished cross stitch piece, gently hand wash it in lukewarm water with mild soap, then rinse thoroughly and blot dry with a clean towel. Avoid wringing or rubbing the fabric, as this can distort the stitches. Once dry, you can iron the piece on the reverse side using a low heat setting.
To achieve neat and even stitches, maintain consistent tension on the embroidery floss as you stitch. Ensure each stitch crosses in the same direction, either bottom-left to top-right or bottom-right to top-left, to maintain uniformity.
Mistakes in cross stitching can often be corrected by carefully removing stitches with a seam ripper or small scissors. Take care not to damage the fabric or adjacent stitches. If the mistake is minor, such as a misplaced stitch, you can sometimes leave it or cover it with a correctly placed stitch of the correct color.
