Diamond Painting Steps

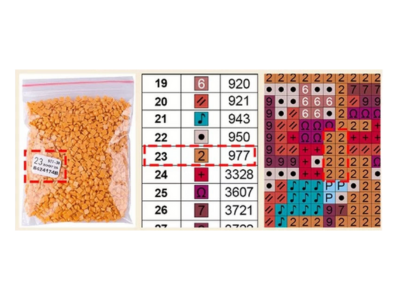
STEP 1: FIND THE DIAMOND SYMBOL
Begin by identifying the diamond symbol on your chosen canvas or pattern.

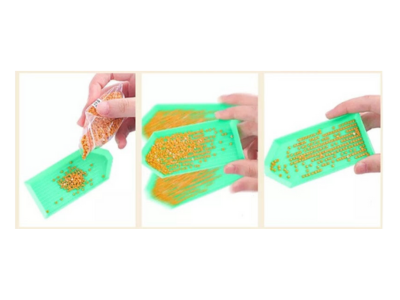
STEP 2: FINISHING DIAMONDS ON THE PLATE
Arrange the diamonds with ease and precision, ensuring they are ready for effortless application onto your project.

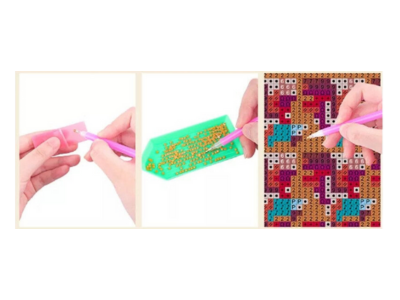
STEP 3: PLACE YOUR DIAMONDS
With a gentle touch, pick up each gem using the provided tools and place them precisely onto their corresponding symbols.


Your Quick Starter Guide
Tips for Mastering Diamond Painting
Begin by setting up a tidy workspace, using the right tools, and adopting efficient techniques. Work systematically, savor the creative process, and seal your masterpiece for enduring brilliance. Follow these tips to become a diamond painting pro!
FAQs
Diamond Painting is a form of art and craft that involves placing small, sparkling resin "diamonds" onto a coded adhesive canvas to create a vibrant and detailed mosaic-like image.
A standard Diamond Painting kit usually includes a pre-printed canvas with adhesive, diamond drills (resin beads), a tray for organizing diamonds, a diamond applicator pen, and wax for the pen to pick up diamonds.
Yes, there are round drills and square drills. Round drills are more commonly used and easier for beginners, while square drills create a more polished, mosaic-like finish.
Once finished, many crafters choose to seal their Diamond Paintings with a clear sealant or apply a clear protective film to preserve and protect the artwork.
Yes, framing is a popular way to display completed Diamond Paintings. Choose a frame that complements the size and style of your artwork.
Diamond Painting can be a fun and engaging activity for older children, typically ages 10 and up, with adult supervision due to the small parts involved. There are also simplified kits designed specifically for kids.


