Cross Stitch Flying Eagle Stamped Full Stitch PRINTED Design Area 40x80cm - Charlie's Diamond Painting

Stamped Cross Stitch Flying Eagle Full Coverage 11ct & 14ct Cotton Silk Threads

Regular price$32.58
/
Shipping calculated at checkout.

Size
Thread
Material
  • Free US & Canada shipping
  • In stock, ready to ship
  • Inventory on the way
Stamped Cross Stitch Flying Eagle Full Coverage 11ct 14ct Cotton Silk Threads

Full Coverage Stamped Cross Stitch Licensed Kits DMC Thread Pre-Printed Fabric Needlework DIY Sets Crafts Home Decoration
Feature:
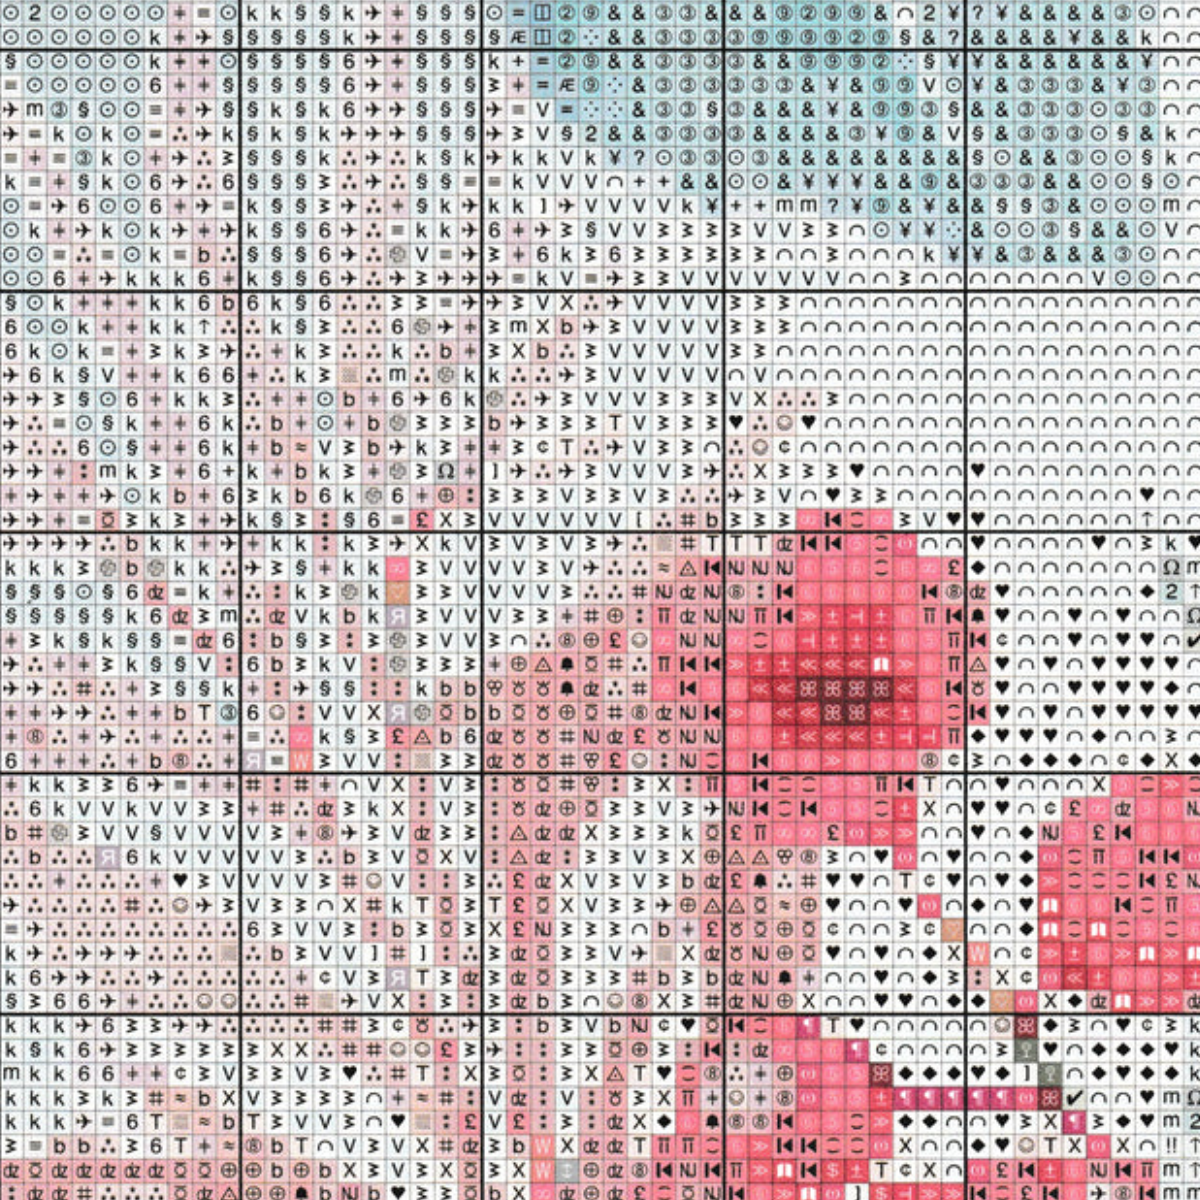
1. A guide graphic composed of different numbers and symbols tells you where to draw the grid and which floss color should be used. All you have to do is follow the symbols on the fabric. 
2. The natural ecological cotton is soft, colorful, and durable, making your Cross Stitch silky, vivid, and long-lasting.
3. The cross-stitch kit will bring you a pleasant time and a sense of accomplishment when completing the work. It can be used as a home decoration, or as a unique, meaningful, and irreplaceable gift for your loved one.
Specification:
Approximate Design area: 40*80cm / 50*90cm / 60*100cm
Canvas: Aida - surged edges
Full stitch, no backstitches, no 1/4 - 1/2 or 3/4 stitches
Fabric spec:  11CT, 3 strands - 14ct, 2 strands 
No Frame
Notice:
The color block in the drawing does not represent the color of the thread. Please carefully identify the symbol or the serial number corresponding to the color block and select the thread number according to the serial number requirements
Note:
1. There may be slight size deviations due to manual measurement, different measuring methods, and tools.
2. The picture may not reflect the actual color of the item because of different photography lights, angles, and display monitors.
Package Content:
1 X Stamped Fabric - Aida 
1 Set # Threads
1 X Chart & Instruction Sheet
1 X Tool Kit

This site is protected by hCaptcha and the hCaptcha Privacy Policy and Terms of Service apply.

Customer Reviews

Be the first to write a review
0%
(0)
0%
(0)
0%
(0)
0%
(0)
0%
(0)

Top quality products

A family company

60-Days Return Policy

Licensed Products

CROSS STITCHING STEPS
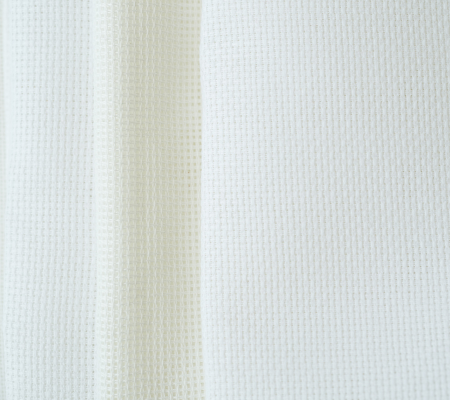
STEP 1: Prepare Your Fabric

Secure the fabric in an embroidery hoop or frame, ensuring it's taut and wrinkle-free.
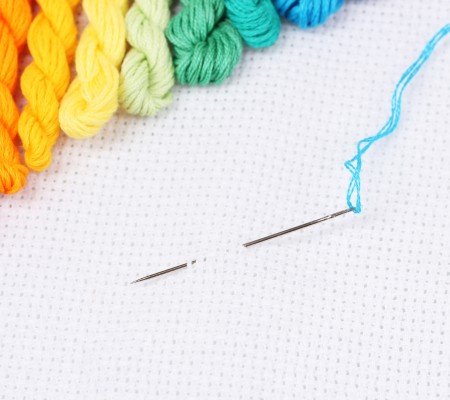
STEP 2: Thread Your Needle

Separate the strands of embroidery floss according to your pattern's instructions. For most patterns, you'll use two strands of floss.
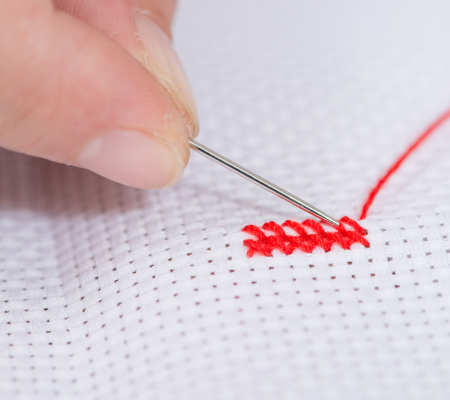
STEP 3: Execute the Stitches

Finish each strand of floss neatly on the backside of the fabric, securing it with a small knot or by weaving it under existing stitches.
Your Quick Starter Guide

Cross Stitching for Beginners: What You Need to Know

You'll need basic supplies like fabric, embroidery floss, needles, and a hoop to get started. Cross stitching is a skill that anyone can learn with practice. Start with simple patterns, take your time, and enjoy the process.

FAQs

To start cross stitching, you'll need fabric, embroidery floss, a needle, and a pattern. Begin by threading your needle with one strand of embroidery floss and securing it to the fabric with a knot. Then, follow the pattern's instructions.

Cross stitch patterns are typically grids with symbols representing different colors of embroidery floss. Each symbol corresponds to a specific color, and you'll stitch according to the symbols on the pattern.

Once you've completed all the stitching, you can finish your project by framing it, turning it into a pillow, or sewing it onto a fabric backing. If framing, ensure the fabric is stretched smoothly and evenly within the frame. If sewing onto a backing, use a whipstitch or running stitch to secure the edges.

To wash a finished cross stitch piece, gently hand wash it in lukewarm water with mild soap, then rinse thoroughly and blot dry with a clean towel. Avoid wringing or rubbing the fabric, as this can distort the stitches. Once dry, you can iron the piece on the reverse side using a low heat setting.

To achieve neat and even stitches, maintain consistent tension on the embroidery floss as you stitch. Ensure each stitch crosses in the same direction, either bottom-left to top-right or bottom-right to top-left, to maintain uniformity.

Mistakes in cross stitching can often be corrected by carefully removing stitches with a seam ripper or small scissors. Take care not to damage the fabric or adjacent stitches. If the mistake is minor, such as a misplaced stitch, you can sometimes leave it or cover it with a correctly placed stitch of the correct color.